Spray Foam 101 Guide
Spray Foam Removal and Repair
Cured spray foam does not dissolve or peel away easily. Understanding why removal is sometimes needed helps you avoid it — or handle it correctly if it comes up.
Why Spray Foam Sometimes Needs Attention
Properly mixed and applied spray foam is a durable, long-lasting material that generally does not need to be touched again for decades. When removal or repair does come up, it is almost always because something went wrong either in the original application or in the structure around it, not because the foam itself simply wears out.
The most common root cause is a bad mix ratio during installation. Spray foam is a two-component chemical reaction, and if the "A" and "B" sides were not combined at close to the correct ratio, the cured foam can end up soft, spongy, sticky, or never fully cures at all. Off-ratio foam does not perform as insulation the way it should, and it can continue off-gassing well past the normal window, which is one of the more serious reasons a homeowner might need it addressed.
Moisture and Structural Problems Hidden Behind Foam
Because closed-cell spray foam is a strong air and vapor barrier, it can hide a moisture problem instead of preventing one if it is applied incorrectly for the situation. A roof leak that starts after foam is already in place, for example, can go undetected far longer than it would with a more visually inspectable insulation material, since the foam covers the roof deck and any resulting rot or staining on the wood is out of sight.
Similarly, if foam is sprayed onto framing or sheathing that already had a moisture issue, or in an assembly where moisture cannot escape the way the design assumed, trapped moisture can lead to wood decay behind the foam. In these cases, the foam itself may be intact, but it needs to be removed to inspect and repair the structure underneath, then reapplied.
Foam Over Older Electrical Work
Older homes with knob-and-tube wiring present a specific problem. Most electrical codes prohibit covering knob-and-tube wiring with insulation, including spray foam, because the exposed wiring is designed to dissipate heat to open air and can overheat when buried. If foam was sprayed over active knob-and-tube wiring, it typically needs to be removed both to address the electrical hazard and to bring the space into code compliance before any new insulation goes in.
This scenario is a good example of why the qualifications of the original installer matter — a properly trained contractor should catch this during a pre-installation inspection and either flag it for an electrician first or decline to spray over it.
Code Violations and Missing Ignition Barriers
Building codes generally require spray foam in living spaces, garages, and other occupied or semi-occupied areas to be covered by an approved ignition barrier or thermal barrier, since the foam itself is combustible and produces smoke when it burns. Foam left exposed where code requires a barrier is a common finding in older DIY or corner-cutting professional jobs.
This kind of issue does not always require removing the foam itself — often it can be resolved by adding the required intumescent coating or drywall/thermal barrier over the existing foam, which is a repair rather than a full removal. But it does mean the original installation was incomplete, and it is worth having a qualified contractor evaluate whether removal or a barrier retrofit is the right fix.
How Removal Actually Works
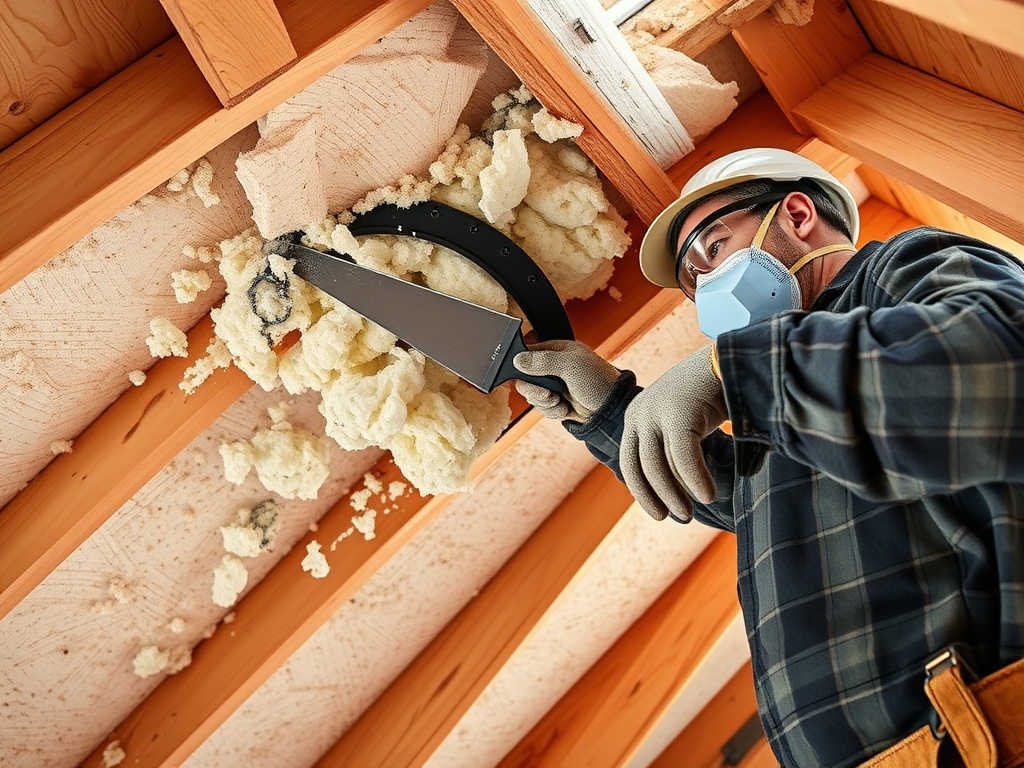
Cured spray polyurethane foam is chemically stable once it sets — there is no solvent that dissolves it back into a liquid or gel the way paint stripper works on paint. Removal is mechanical: scraping, cutting, and chipping the foam away from the substrate using hand tools or specialized power tools designed for foam removal. This is slow, labor-intensive work, especially with closed-cell foam, which is denser and adheres more aggressively than open-cell foam.
Because removal is physical rather than chemical, it also risks damaging the substrate underneath if not done carefully — roof decking, framing, or subfloor can be gouged or weakened by aggressive scraping. Reputable removal contractors work in careful passes and inspect the substrate as they go, which is part of why removal jobs often take longer and cost more per square foot than the original installation did.
Signs Foam May Need Attention
A handful of signs point toward a foam problem worth having evaluated: a persistent chemical or ammonia-like odor that does not fade weeks after installation, foam that feels soft, spongy, or tacky to the touch instead of rigid, visible gaps or areas where foam has pulled away from framing, staining or discoloration suggesting moisture behind the foam, or foam that was sprayed directly over wiring or plumbing in a way that looks improvised rather than planned.
Any of these warrants a professional inspection before assuming the worst — not every odor or soft spot means a full removal is needed, but they are all worth having a qualified contractor look at rather than ignoring.
- Persistent chemical odor weeks after installation
- Foam that feels soft, spongy, or sticky rather than rigid
- Visible gaps or foam pulling away from framing
- Staining suggesting trapped moisture behind the foam
- Foam sprayed directly over exposed wiring
Removal vs. Patch Repair: Cost Considerations
Full removal and reinstallation is the most expensive path, since it involves both the labor-intensive mechanical removal process and the cost of a completely new foam application afterward. It is typically reserved for cases involving off-ratio foam that never cured properly, foam covering a code violation like knob-and-tube wiring, or foam that has to come off to access and repair structural damage underneath.
Patch repair — adding foam to fill a gap, recoating an area, or adding a missing ignition barrier over existing foam — is far less expensive and is appropriate when the underlying foam and structure are otherwise sound. A contractor evaluating a problem area should be able to explain which category the issue falls into and why, rather than defaulting to a full tear-out.
What a Removal and Repair Project Involves
A typical removal project starts with an assessment to determine why the foam is being removed and how far the problem extends — a small section around one leak, or the whole roofline. That scope determines whether the job is a targeted patch or a full tear-out. Once the extent is known, the crew mechanically removes foam in that area, inspects the substrate underneath for damage, makes any necessary structural repairs, and then reapplies foam (or an alternative insulation, depending on the situation) once the underlying issue is resolved.
Homeowners should expect a removal and repair job to take longer than a comparable fresh installation would, since the removal step itself is slow and the crew has to work carefully to avoid additional damage. It is also worth asking upfront whether the quote includes disposal of the removed material, since spray foam waste generally cannot just be thrown in with regular household trash in every municipality.
Preventing the Need for Removal
The most effective way to avoid ever needing spray foam removal is hiring a qualified, experienced contractor for the original installation. That means someone who inspects the space beforehand for existing moisture or wiring issues, uses properly calibrated and maintained equipment to keep the mix ratio in spec, applies foam at the correct thickness per pass, and installs any required ignition or thermal barriers as part of the job rather than skipping them.
Asking about the contractor's quality-control process before hiring — how they check mix ratio, what training their crew has, and whether they inspect for existing wiring and moisture issues before spraying — is a reasonable and worthwhile question, and one that a legitimate contractor should be able to answer clearly.
Frequently Asked Questions
No. Once cured, spray polyurethane foam is chemically stable and does not dissolve. Removal has to be done mechanically, through scraping, cutting, or chipping, rather than with a chemical stripper.
Not necessarily in the first few days, but an odor that persists for weeks often points to an off-ratio mix or inadequate cure time and is worth having inspected by a qualified professional.
Knob-and-tube wiring is designed to dissipate heat into open air. Covering it with insulation, including spray foam, can cause it to overheat, which is why many codes and underwriting guidelines prohibit it. Foam applied over active knob-and-tube wiring typically needs to be removed.
It can if not done carefully, since removal is a mechanical scraping process rather than a chemical one. Experienced removal contractors work in controlled passes to minimize damage to the substrate.
Hire a contractor who inspects for existing wiring and moisture issues before spraying, uses calibrated equipment to keep the mix ratio correct, and installs any required ignition or thermal barriers. Most removal cases trace back to a shortcut taken during the original installation.
More Guides
Spray Foam Safety & Off-Gassing
What off-gassing actually is, realistic re-entry times, why installer PPE matters, and how cured spray foam compares to other insulation materials on safety.
Read the guideDIY vs Professional Installation
What DIY spray foam kits can realistically handle, where they fall short of professional equipment, and how to decide which route fits your project.
Read the guideChoosing a Spray Foam Contractor
What to check before hiring — certification, quality control, warranty terms, and the red flags that separate a solid contractor from a risky one.
Read the guideReady to see what spray foam costs for your project?
Tell us about your space and get connected with a vetted local installer for a free, no-obligation quote.